


Monday, Mar 2, 2026
The Kitchen Remodeling Guide for Saving Big on Costs in 2026
If you're reading this, the odds are that you're about to start a kitchen remodel, and as we all know, these things never go as planned. They end up more complex than you initially think, take longer, and cost way more.
I spent 17 weeks analyzing over 1,000 kitchen remodeling discussions from homeowners in Texas, Houston, Toronto, NYC, and several other cities who shared their experiences, costs, and lessons learned online.
In this article, I'll share their tips, costs, and insights from their experiences and mistakes, so you don't make the same expensive mistakes they made, and also some things they wish they had known before they started. So, grab your notes as this will be quite a long read.
What These Homeowners Actually Spent (And Where Every Dollar Went)

The first question everyone asks is simple: how much will this actually cost me?
The answers ranged dramatically. One homeowner in Ohio spent around $8,000 doing almost everything themselves, buying cabinets from a distributor and finding marketplace deals for appliances in the marketplace. On the opposite end, someone in the NYC area explained that a full gut renovation there runs $45,000 to $80,000 or more. Labor and rough materials alone usually eat up $30,000 to $50,000 of that because you're not going to DIY much of that unless you're licensed or very deep into trades.
A homeowner in Toronto broke down their costs precisely: $16,000 for custom cabinets including hardware and lighting, $6,000 for quartz countertops with backsplash and sidesplash, $2,500 for electrical work, $5,000 for the contractor's labor installing everything. Their total came to just over $37,000 for a complete transformation.
Another person in Australia spent $23,000 on a U-shaped kitchen with custom cabinetry, mostly drawer bases for the lower cabinets, a Miele induction stove and oven they got at staff discount, and a budget dishwasher. They did the timber benchtops themselves from panels they sanded and finished, which saved a few thousand dollars but was, in their words, a pain in the rear.
The pattern that emerged was clear: a basic cosmetic refresh where you keep the same layout runs $15,000 to $25,000. A mid-range remodel with new cabinets, countertops, and appliances lands between $35,000 and $60,000. A full gut job involving layout changes or structural work easily exceeds $75,000.
Here’s Why the Range of Kitchen Remodeling Costs Sits So Wide
The reason costs vary so dramatically isn't just location or material choices, but scope. The moment you move from "making it look better" to "changing how it functions," your costs accelerate quickly.
Layout changes dominated the high-cost experiences. One person estimated that their layout change cost about $20,000 in total when they added up all the consequences. Moving the sink meant new plumbing, which meant opening walls, which revealed outdated electrical that needed upgrading to meet code, which required permits and inspections.
If you can stick with your current layout and it works well, that's where you save the most. But if the layout doesn’t fit how you cook, fixing it is worth the extra cost.
The Budget Breakdown: Where Your Money Actually Goes

Across all the experiences shared, the budget distribution stayed remarkably consistent:
- Cabinets eat 30-40% of your total budget: For a $50,000 remodel, you're looking at $15,000 to $20,000 just for cabinetry and installation.
- Labor consumes 25-35% of everything: This includes demolition, cabinet installation, countertop fabrication and installation, plumbing, electrical work, drywall repair, painting, tile installation, and final trim work. One Toronto homeowner paid $5,000 for contractor work that covered cabinet installation, plumbing, electrical, and general construction. Another paid about $2,500 just for cabinet installation on top of other trade costs.
- Countertops take 10-15%: Multiple homeowners noted spending $4,000 to $6,000 on quartz countertops for standard-sized kitchens. One spent $6,000 for quartz countertops, plus backsplash and sidesplash for a corner installation.
- Appliances vary wildly at 10-20%: One homeowner spent $6,500 at Costco for a fridge, stove, dishwasher, and microwave. Another spent about $2,600 for a Miele induction stove and oven purchased at staff discount, plus a budget dishwasher. High-end brands like Wolf or Miele can push a full appliance suite past $20,000.
Everything else (the remaining 15-25%) includes flooring, backsplash, lighting, plumbing fixtures, permits, and waste removal. One homeowner noted that the tile itself was only $800, but installation cost $3,500. These smaller costs add up quickly and often get underestimated in initial budgets.
The Non-Negotiable Contingency That Nobody Budgets For
Every single experienced homeowner emphasized the same thing: you need a buffer. Take your top-end budget and knock off 20%. This is what you should actually spend and can afford. You almost certainly will need that 20% buffer.
The reasoning was unanimous: surprises appear when you open walls. Think:
- Outdated wiring that doesn't meet code.
- A cracking main plumbing line.
- Subfloor damage from an old dishwasher leak.
One homeowner discovered their main plumbing line was cracking behind the wall and had to replace it. Better to do it during the remodel than after everything's closed up and it starts leaking.
If your planned budget is $45,000, set aside $9,000 for contingencies. When surprises don't appear, you can upgrade something you wanted anyway. When they do appear (and they will), you're not forced into debt or panicked compromises.
How Long Kitchen Remodeling Actually Takes (And Why Everyone Underestimates It)

When homeowners shared how long they expected their remodel to take versus how long it actually took, the gap was enormous.
One homeowner's contractor said six weeks, but they weren't back in their kitchen for six months. Not all of that was the contractor's fault (city inspections added massive delays). They failed the first inspection, and it took six weeks to get past it because every time the contractor fixed things, the city sent a different inspector with different requirements. The cycle of inspection, contractor fix, schedule new inspection, and wait for the next inspector ate up over a week each time. They needed five or six cycles to pass.
Another person noted that just because you're ready doesn't mean your vendors and subs are available. They hurried up to pay deposits, then waited many days before the countertops even started. The same thing happened with their roof replacement; it took a few months after paying the material deposit to actually begin work.
The realistic timeline that emerged looked like this:
Planning Phase: Two to Six Months (The Most Important Part)
The planning stage should take longer than the construction stage. People who spent six months planning and then executed in eight weeks had far smoother experiences than those who rushed planning and dealt with constant changes during construction.
One homeowner spent the first six weeks just getting four separate quotes for cabinets and multiple quotes from electricians and plumbers until they were really sure about pricing. Another took three years from initial planning to starting construction. They weren't rushing; they actually saved for two years to pay out of their pocket, and used that time to really think through every decision.
During this phase, you'll be designing the layout, getting contractor quotes, selecting every single material and finish, ordering cabinets and countertops, and securing permits. The biggest mistake, according to the experiences shared, is starting demolition before all materials are confirmed and on-site.
Don't start demolition and then decide what color grout you want or what hardware you prefer. It will only slow down the process and make decisions harder when you're living in chaos. It's easy and free to change your mind fifty times before anything starts. After construction begins, every change costs money and adds delays.
Construction Phase: Six to Twelve Weeks (If Everything Goes Right)
Weeks 1-2: Demolition and Rough-In
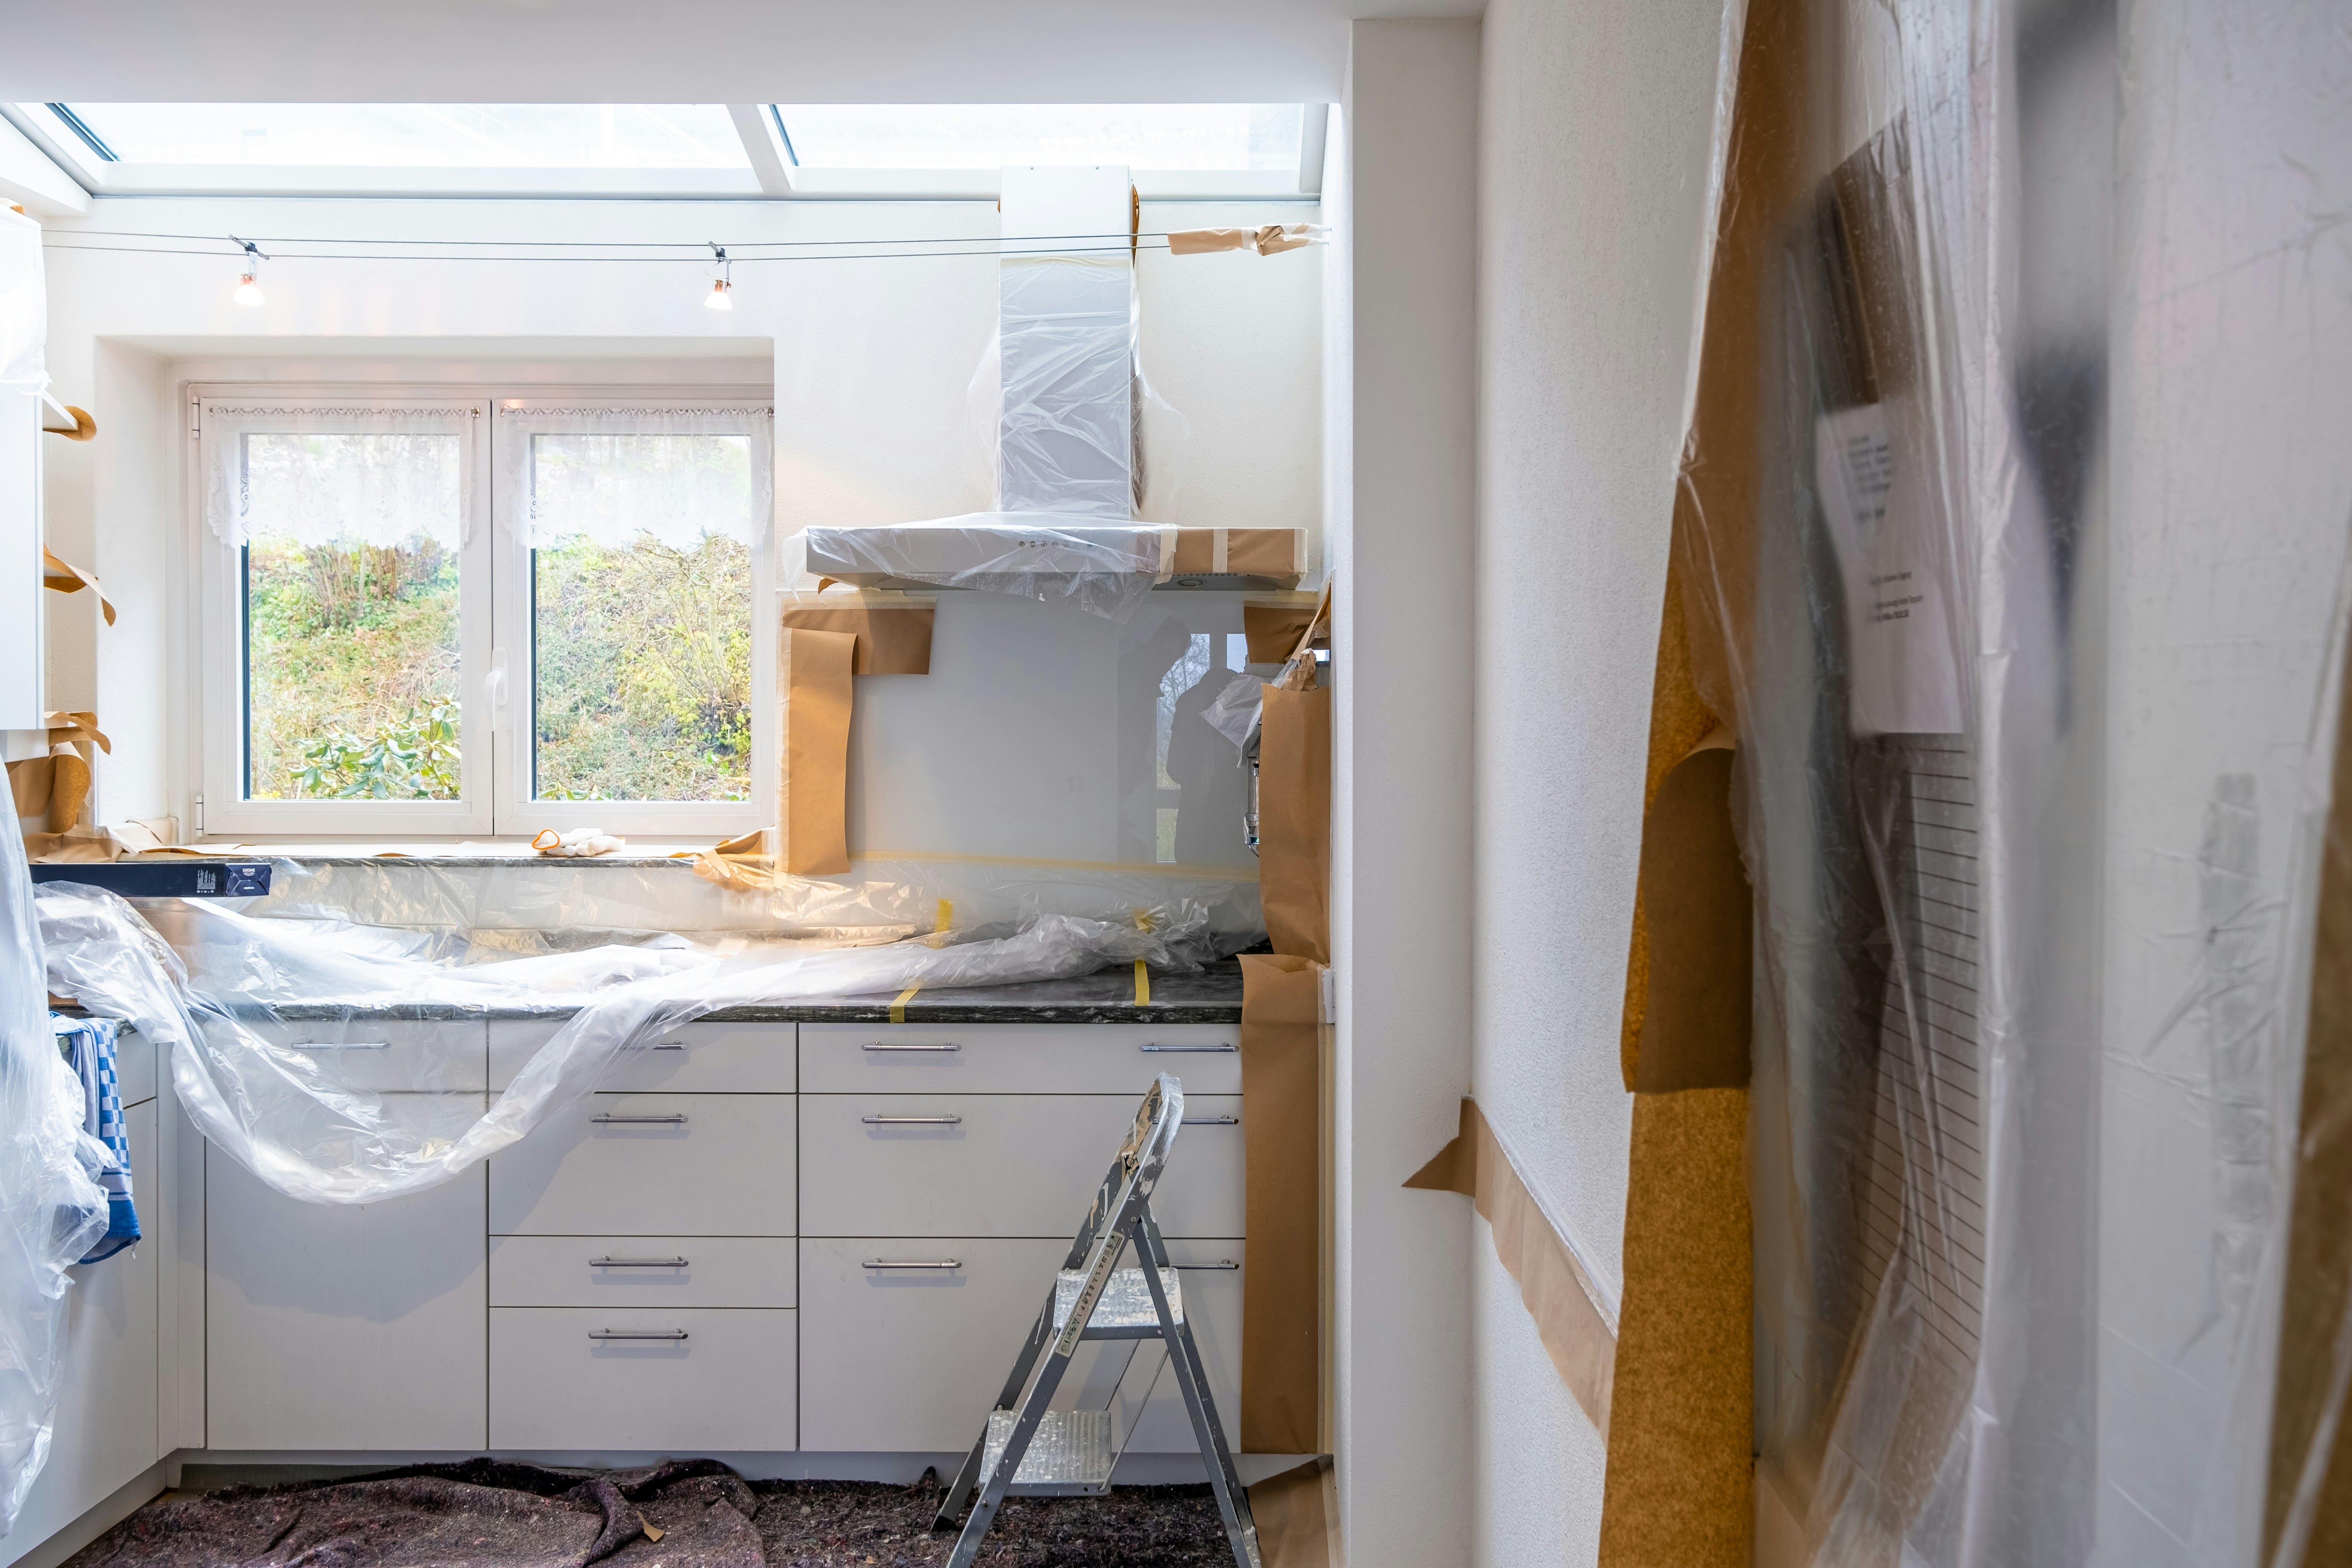
During these two weeks, you’ll tear out the old kitchen, move plumbing if needed, and rewire the electricals. Multiple homeowners stressed sealing off the kitchen with heavy plastic barriers during this phase to keep dust from coating every surface in the house. You will not believe how much dust will be produced. Drywall dust is so fine that it will coat your toothbrush if you aren't careful.
Weeks 3-4: Drywall, Painting, and Flooring
Closing up the walls, painting, and laying the new floor. If you're doing tile, this stage can stretch longer depending on pattern complexity and drying time for the mortar and grout.
Weeks 5-6: Cabinet Installation
Installing the cabinet boxes requires precision because everything else, like the countertops, appliances, and hardware, depends on the cabinets being perfectly level and aligned. One homeowner's dad helped install cabinets, and even though he'd done it once before, it still took several days to get everything right.
Weeks 7-9: The Waiting Period Nobody Warns You About
Once cabinets are installed, the countertop fabricator comes to create a physical template. You then wait two to three weeks for the stone to be cut and polished. Your kitchen will sit empty during this time.
You need plywood, boards, and something to lay on them during that waiting period to have somewhere to put things. And even after the cabinets are set, it takes another two-plus weeks after they measure for the countertops to arrive.
Weeks 10-12: Finish Work
Installing your countertops, backsplash tile, appliances, lighting, and hardware. This is where everything comes together visually, but it's also where the small delays compound. If the backsplash tile arrives damaged, you're waiting for a replacement, and if an appliance doesn't fit the cabinet opening perfectly, adjustments need to be made.
What Actually Causes the Delays
When homeowners shared what caused their timelines to slip, three issues dominated:
- Inspections create unpredictable delays: The homeowner who failed their first inspection and spent six weeks cycling through fixes noted the challenge: every time they fixed things, a different person came with a different set of requirements. The advice that emerged was to try to get the inspector to provide a full list of problems they find, so you can address them all at once.
- Materials arrive late or damaged: If you order tile that turns out to be discontinued and you need to pick something else, your tiler can't start on schedule. If appliances are on back order for six weeks, cabinet installation might be done, but you can't finish the project.
- Changes mid-project kill everything: Every single homeowner emphasized this. Every change after signing the contract costs money and adds delays. If you decide halfway through that you want different hardware or a different countertop edge, the work stops while new materials are ordered.
Where Homeowners Wish They'd Spent More (And Where They're Glad They Saved)

Looking at what people shared about their experiences, clear patterns emerged around where money was well spent versus wasted.
What They Wish They'd Splurged On
- The range hood and ventilation system dominated the regret list: Multiple homeowners specifically called this out as their biggest mistake when they went cheap. One learned the hard way that going cheap on a hood isn't worth it, as theirs clogged fast and ended up costing more in cleaning and repairs than expected. The advice was clear: if you cook a lot, prioritize a good vent hood. Installation for proper ducted ventilation that vents outside can run $1,500 to $3,000 in older homes when you include cutting through brick and lining ductwork, but the investment pays off daily.
- Drawer bases for lower cabinets came up repeatedly: Drawer bases are superior to door cabinets for lower storage. The ability to pull out a drawer and access items in the very back proved worth significantly more than the extra cost. One person did a mix of drawers and door cabinets because they didn't want to lose the few inches of storage depth you lose to drawers. In hindsight, the usability of drawers made those door cabinets feel like wasted space.
- Good cabinet hardware and faucets: This advice is very practical: it's much cheaper to buy your own faucets and get the countertop people to install them. But don't go too cheap; buy solid brass or high-quality stainless steel. Budget hardware strips its threading when you pull too hard, and cheap faucets leak within months, so you end up paying twice.
Where Smart Saving Actually Worked
- Avoiding fully custom cabinets saved thousands of dollars: One homeowner designed their own kitchen using interior design software and outsourced their cabinets, which massively reduced cabinet costs. They then hired a local carpenter to build custom fronts. The result was about $3,500 for four base cabinets with drawers, a sink cabinet, a pull-out for bins, and two upper cabinets, with the carpenter making everything look high-end with custom fronts.
Another was initially quoted over $20,000 for cabinets but ended up spending far less than that on Home Depot semi-custom cabinets during a holiday sale. - Refacing instead of replacing cabinets: If your current cabinet boxes are solid wood and the layout works, refacing is a great money saver. You can pick whatever door and drawer front you want, in any style or finish. This approach saves probably 40% compared to full replacement.
- Waiting for countertop sales and buying remnants: The strategy that works very well is having the countertop people give you an estimate of how many slabs you need, then talk to the salespeople about when they have sales. Many places have two sales a year, where you can save significantly. They might also have discontinued slabs they're trying to get rid of. One homeowner managed to get a great soapstone slab by buying from a large retailer's warehouse and shipping it to a local fabricator.
- Buying hardware in contractor packs: This was called out as a huge money saver. Hidden hinges were preferred because you can change the door and drawer hardware anytime without worrying about hinges matching.
- DIYing what made sense and hiring pros for what didn't: One homeowner did everything themselves except the countertop and sink installation. The work isn't super difficult if you can learn well from YouTube and have a friend or family member come help. Our complete room planner, All Things Snug, allows you to check and test several ideas, layouts, and even take notes (with pictures), so you’re fully prepared at every step. Check it out here.
But everyone agreed on where not to DIY. Unless you already have a plumber, electrician, etc., you trust, a general contractor is worth their overhead fee. You're gaining their ongoing relationship with the subs, plus their ability to speak "tradesman." Multiple people mentioned instances where they'd tell a sub they wanted something, and the sub would ignore them until the GC intervened.
The Dust, The Chaos, and How to Actually Survive Living Through a Kitchen Remodel

When homeowners shared what surprised them most about the process, the answer was nearly unanimous: the dust and disruption were far worse than they imagined. This is how you survive through a kitchen remodeling period without going crazy.
1. Setting Up a Temporary Kitchen Saves Your Sanity
You cannot survive three months on takeout. It’s manageable for the first couple of weeks, but the costs and the effects on your health add up.
A homeowner used a Tovala oven and meal system that saved them during the renovation. You can roast vegetables, reheat leftovers, and cook simple proteins without needing a full kitchen.
What you need for a functional temporary setup:
- Your refrigerator moved to the garage, dining room, or basement
- A dual-burner induction hot plate or electric cooktop
- A toaster oven for reheating and simple cooking
- A utility sink, if possible (Costco carries them for around $300)
- Basic cookware, utensils, and a coffee maker
The advice is clear: before you start, if at all possible, add a utility sink somewhere in your house. One homeowner had a utility kitchen in their basement, which meant they could build a pretty effective temporary kitchen down there. It was a huge part of what kept them sane while their kitchen was down for three months.
2. Preparing for the Dust (Because It's Unbelievable and Inevitable)
It sounds obvious, and even funny, but you will not believe how much dust will be produced. The best recommendation is to hang plastic barriers between the work and other spaces and store everything away to avoid having to dust every single surface, which you should do every couple of days anyway.
Another homeowner's advice: buy an air purifier, more dustcloths, and extra bags for your vacuum. They rigged up a plastic curtain over their food storage and cooking setup, which helped a bit. Also, plan where the fridge can go outside the kitchen work area.
These strategies also helped people smoothly live through their remodeling phase:
- Seal off the kitchen completely: Some people put up tarps and lived in the back half of the house. Seal off rooms like spare bedrooms, laundry, and the master bedrooms with zipper walls if possible.
- Turn off the HVAC when dusty work is happening: Turn off the air conditioner or heater when anything dusty is being done. Close the door to all rooms you're not using, because if dust gets into your system, it distributes throughout your entire house.
- Run air purifiers constantly: Run a strong air filter in the living areas. Some people bought one specifically for the renovation and ran it 24/7.
- Take dated photos of everything: Make sure you get lots of pictures with a date stamp of the condition of everything you are keeping (You can use All Things Snug’s app for this documentation), as contractors will set things on any flat surface available. Also, cover nice surfaces near the work area so nothing gets damaged.

Daily Communication Prevents Chaos
The question to ask your contractor as they leave each day: When are they returning? For homeowners whose contractors were poor communicators, this helped them be prepared for the next step each day.
Another kept a daily log of work done. This was mostly for sanity, but if there had been a dispute, it would have been useful. They also kept a spreadsheet of every cost incurred, pulls, new appliances with different options considered, cabinets, contractor fees, designer fees, pendant lights, in-ceiling lights, windows, paint, everything. It helped explain why they went 25% over budget.
This is cumbersome, but highly recommended to avoid regretful situations.
What Kitchen Trends to Avoid (According to People Who Actually Live with Them)

Looking at what homeowners shared about design choices they regret or see aging poorly; the answers were blunt.
Trends Currently Fading That You Should Skip
- Open shelving instead of upper cabinets: There's relief that the idea of replacing wall cabinets with open shelves for dish storage is finally dying as people figured out it's a half-baked idea. Who wants to dust their plates and drinking glasses every time they have dinner? All people could think about with open shelving was how much dust it's going to collect.
The consensus was clear: some open shelving for specific display is fine, but expecting everything to stay that organized all the time is ridiculous. Closed cabinets are what keep your dishes clean. - Black hardware and fixtures: Matte black hardware shows every water spot and speck of dust. You'll spend every week wiping them down just to keep them looking decent. Limescale also makes black taps look terrible within months in hard water areas.
- Zellige tile: Zellige tile is oversaturated and expected to go out of style in the next couple of years.
- Vent hood covers designed to look like cabinetry: These are going to be difficult to keep clean because vaporized grease accumulates on every surface.
- Faux marble quartz with heavy veining: Black hardware, Edison-style lighting, sage or navy cabinets, and faux marble countertops are all going to scream 2020s at some point.
- All brass everything: Brass has been the popular metal for several years now. It's pretty classic, but the suggestion was to not use it for everything. Maybe the faucet and plumbing are chrome, while the pulls, knobs, and light fixtures are brass? Or the light fixtures are a different metal? Personally, some think it looks best in a cream or white kitchen, or in moderation in a midcentury style.
What Actually Holds Up Over Time
- Stained wood cabinets over-painted: Multiple homeowners expressed happiness about choosing stained cabinets rather than painted. The observation was consistent, showing that painted cabinets show wear and tear significantly quicker.
- Slab-front cabinet doors: Slab-front cabinets are so much easier to clean than ones with lots of details. A lot of choices focused on how long things would last and how easy they would be to clean.
- Classic materials that fit your home's architecture: The advice was to choose a style that fits the architecture of your home, mid-century, craftsman, transitional, etc. Your kitchen should be integrated into the total look of your house. Do not worry so much about what's in style or not unless you're planning on selling soon. If the renovation is for your use, go with what you genuinely like.
- Functionality first: As one designer noted, Chef's rule number one is how easy it is to keep clean, and rule number two is to refer to rule number one.
The Complete Kitchen Remodel Checklist (Based on What Actually Worked)

After reviewing all these experiences, here's a checklist based on what people wished they'd known before starting their kitchen remodeling.
Planning Phase (Two to Six Months Before Construction)
- Define exactly what's not working and what you want to improve
- Set a realistic total budget and immediately set aside 20% as contingency
- Research kitchen designs and styles using Pinterest, Houzz, All Things Snug, and design magazines
- Save images and identify recurring themes in what you love
- Decide whether you need a professional designer
- Interview at least three contractors and check references thoroughly
- Get detailed written estimates from each contractor
- Select your contractor based on references, not just the lowest bid
- Obtain all necessary permits
Make sure you take TIME and be as thoughtful as possible, instead of rushing into decisions. This is a lot of money and inconvenience. The last thing anyone wants is to have regrets.
Design and Selection Phase (Complete Everything Before Construction Begins)
- Finalize your layout (use tools like All Things Snug and Ikea Room Planner to test different configurations with your actual room dimensions)
- Choose cabinet style, finish, and configuration for every single cabinet
- Select the countertop material, color, and edge profile
- Pick a flooring material and pattern
- Choose backsplash tile and grout color
- Select all appliances with exact model numbers and confirm dimensions
- Choose sink style and faucet finish
- Select all lighting fixtures
- Pick hardware finish and style
- Choose paint colors
- Order all materials and confirm delivery dates
Note: Before construction starts, have EVERYTHING chosen and on hand. Don't start and then decide what color grout you want. It will only slow down the process and make decisions harder.
Pre-Construction Phase
- Empty all cabinets and pack items in labeled boxes
- Set up your temporary kitchen in another room
- Clear counters and remove breakables
- Take dated photos of everything for documentation
- Confirm all materials are delivered and stored safely
- Review the timeline with the contractor and get the daily work schedule
- Get contact information for all subcontractors
- Buy air purifiers and extra vacuum supplies
- Batch cook meals and freeze them
- Stock up on easy-to-prepare foods
Start collecting boxes to make packing easier. Think about outlets and circuits if you're setting up a temporary kitchen elsewhere.
During Construction
- Ask your contractor every afternoon when workers arrive tomorrow, and what they're working on
- Keep a daily log of work completed
- Take progress photos every day
- Seal off the kitchen with plastic barriers
- Run air purifiers constantly
- Turn off the HVAC when dusty work is happening
- Vacuum frequently
- Document any damage immediately
- Address all concerns as soon as they arise
Keep a log of communications to refer back to, as time will blur when things are chaotic. It will cost more as well, so prepare mentally and financially for this. The average reported was 10-15% more, not including things you might add to the project.
Finishing Phase
- Final painting and touch-ups
- Hardware installation
- Final cleanup by contractor
- Walk through and create a punch list
- Test every appliance
- Inspect every detail before the final payment
It will be worth it. But expect it to take longer and cost more than quoted.
Small Kitchens and Galley Layouts: Specific Strategies from Homeowners Working with Tight Spaces

Several of the experiences shared came from people working with small kitchens or galley layouts. Their advice for maximizing limited space was remarkably consistent.
What Worked in Small Kitchens
- Vertical storage everywhere: Use floating shelves and tall cabinets that go right to the ceiling. It makes the kitchen feel taller and frees up counter space.
- Drawer bases become even more critical: In a small kitchen, you cannot afford to waste any storage with hard-to-reach cabinet corners. Every lower cabinet should have a drawer base.
- L-shaped layouts over U-shaped: Converting a cramped U-shape into an L with a movable cart gained significant prep space while maintaining traffic flow for some homeowners.
- Put a narrow pull-out pantry next to the fridge: If you ever buy a bigger fridge, you only need to remove the pull-out instead of moving all your cabinets. This strategy was called brilliant for storing oils and spices.
What Worked in Galley Kitchens
- Continuous countertops without breaks: A seamless counter with integrated appliances creates a custom look and improves workflow in the narrow space.
- Reflective backsplashes: Glass, polished subway tile, or stainless steel bounce light down the corridor, making the narrow space feel airier.
Note: Galley kitchens are sometimes assumed to be cheaper, but the tight dimensions often increase the labor complexity. Installers have less room to maneuver, which means precision increases installation time. Some galley installations took just as long as larger L-shaped kitchens because everything had to be perfectly aligned.
Frequently Asked Questions (Answered by Real Homeowner Experiences)
What's the single biggest mistake people make?
Starting construction without a complete plan and all materials on hand. Change orders cost money and create delays. Also, ignoring ventilation (skimping on the range hood) was the most common regret.
Can I save money by keeping my current layout?
Absolutely. If you can stick with your existing layout and it works well, you'll save $10,000 to $20,000 by not moving plumbing and gas lines. The moment you relocate the sink or stove, the costs compound quickly.
How much should I budget for contingencies?
At least 15-20%. If you're planning to spend $40,000, set aside $6,000 to $8,000 for surprises. When you open up walls, you will discover things that need fixing.
What's the best way to save money on cabinets?
Consider RTA cabinets with custom fronts, refacing if your boxes are solid, or shopping holiday sales at big box stores. One homeowner saved $13,000 by waiting for a Home Depot sale instead of going with the first quote.
Should I DIY any part of the remodel?
Only if you're skilled and know your limits. Painting, demolition, and backsplash installation are reasonable for competent DIYers. Electrical work, gas lines, structural changes, and countertop fabrication should be left to licensed professionals.
How do I choose a good contractor?
Get references and actually call them, check online reviews, and interview at least three contractors. Ask them to describe their scheduling process and what you should expect living in the home during construction. Unless you already have tradespeople you trust, a GC is worth their overhead fee.
What's the most important thing to splurge on?
A good range hood that vents outside, not just recirculates air. Also, drawer bases for all lower cabinets. These improve daily functionality more than almost anything else.
How long will I be without a functional kitchen?
Plan for six to twelve weeks of construction, though it can stretch longer. This is why setting up a temporary kitchen elsewhere is critical.
What if my contractor finds problems after opening walls?
This is why contingency funds exist. Address the problems properly instead of cutting corners.


Saviour Udoh
Founder, Experienced Home Decor Enthusiast
Saviour Udoh has been hands-on with DIY home projects since his teens and later founded All Things Snug to close the gap between inspiration and execution. He writes about practical design decisions that prevent overspending, layout mistakes, and regret-filled purchases.
